


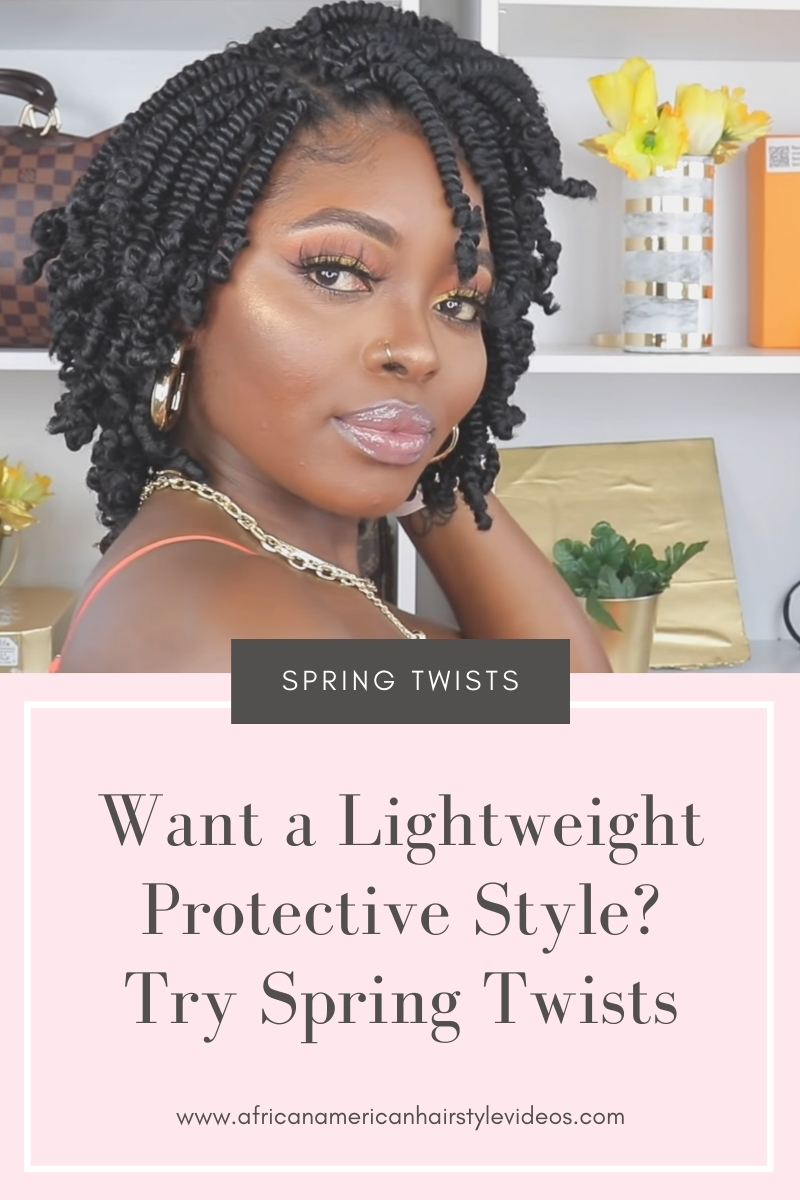
Looking For That Perfect Lightweight Pre-Twisted Protective Style? Try This 8″ Bob Spring Twists

In today’s video, we’re going to achieve this illusion crochet spring pre-twisted look. I know you want to see how Justramdon gets this look, so keep watching. Spring twists are lightweight protective styles that give you the twisted look while your hair is neatly protected. If you like to try new styles that protect your hair and give you the peace of mind of not having to wake up super early to get started on hair, then this style will keep the manipulation to a definite minimum.
Think about the versatility this offers. It is so light that it can be worn in many different styles without carrying the weight of the hair around.
What Hair That Was Used For This Style
The hair is the 10″ pre-twisted spring twist from Toyotress. They are bouncy, neat, and very light to the touch. They come in packs so make sure you order enough for your head. Depend on the size twist you want you can split them further into two, three, or even four.
How to Install Spring Twists?
If or when you watched the video, you will see how similar it is to other protective styles. If you’re here, it means you want to challenge yourself by doing it. So, some prep is necessary to get that perfect look. It is recommended that you washed, conditioned, and blow-dried your hair. After all, you’re doing a protective style. Once that step is done and your hair is well-moistured, you’ll need to part the hair into sections and braid it to your desired style.
She got 10 braids going in the front. Follow the line of the braids in the front by parting. Start off braiding like you’re doing a normal braid by braiding 2 or 3 times, then add the first string of braided hair that you did in the front. You’ll need to continue what you were doing until your head is ready for crocheting. This method of doing it will give the illusion that individual twists were created when you install the hair, but it’s all crochet.
This pre-twisted method gives the illusion that she twisted each strand but, that’s not the case. It saves you time from having to twist them when you use the crochet method. As I said, the potential styles are limitless.
How to Maintain This Style
This technique is easy to maintain. While the installation does take a little bit of time compared to other protective styles, maintaining it is rather simple. You need products that will keep your scalp from clean and keep build-up away, and a silk scarf at night to help maintain the health of your hair, and your style.
Speak Your Mind